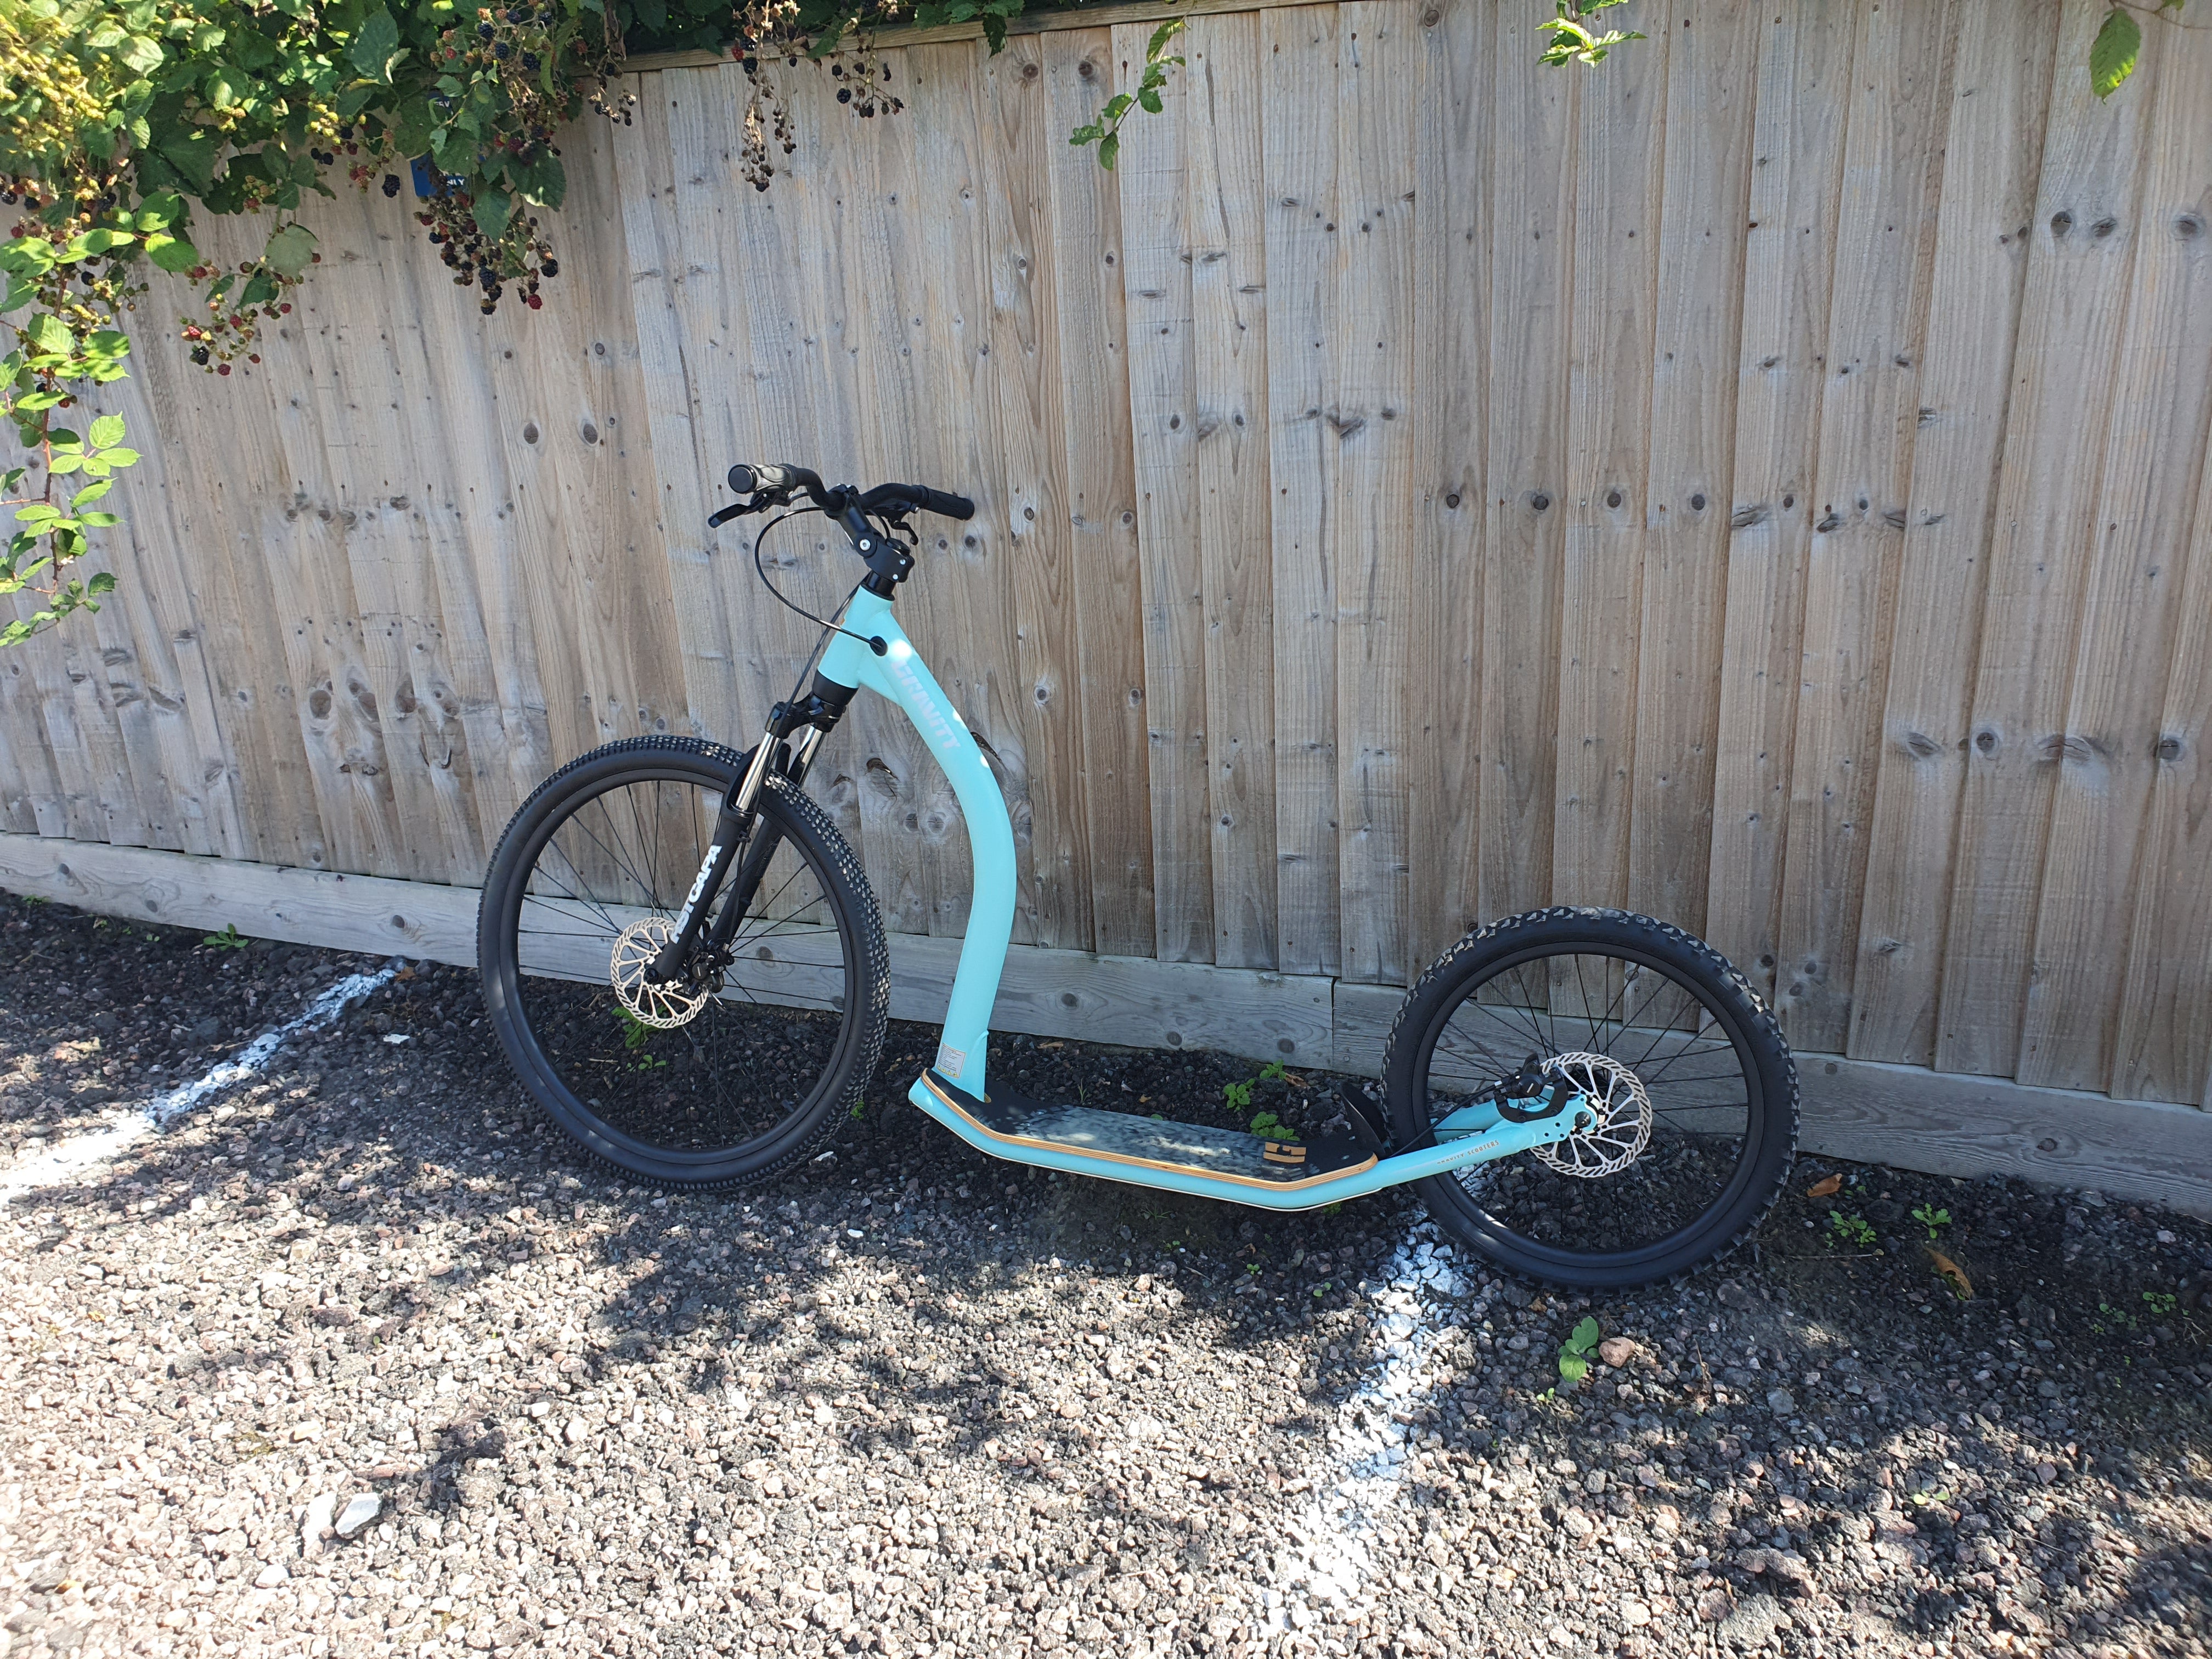
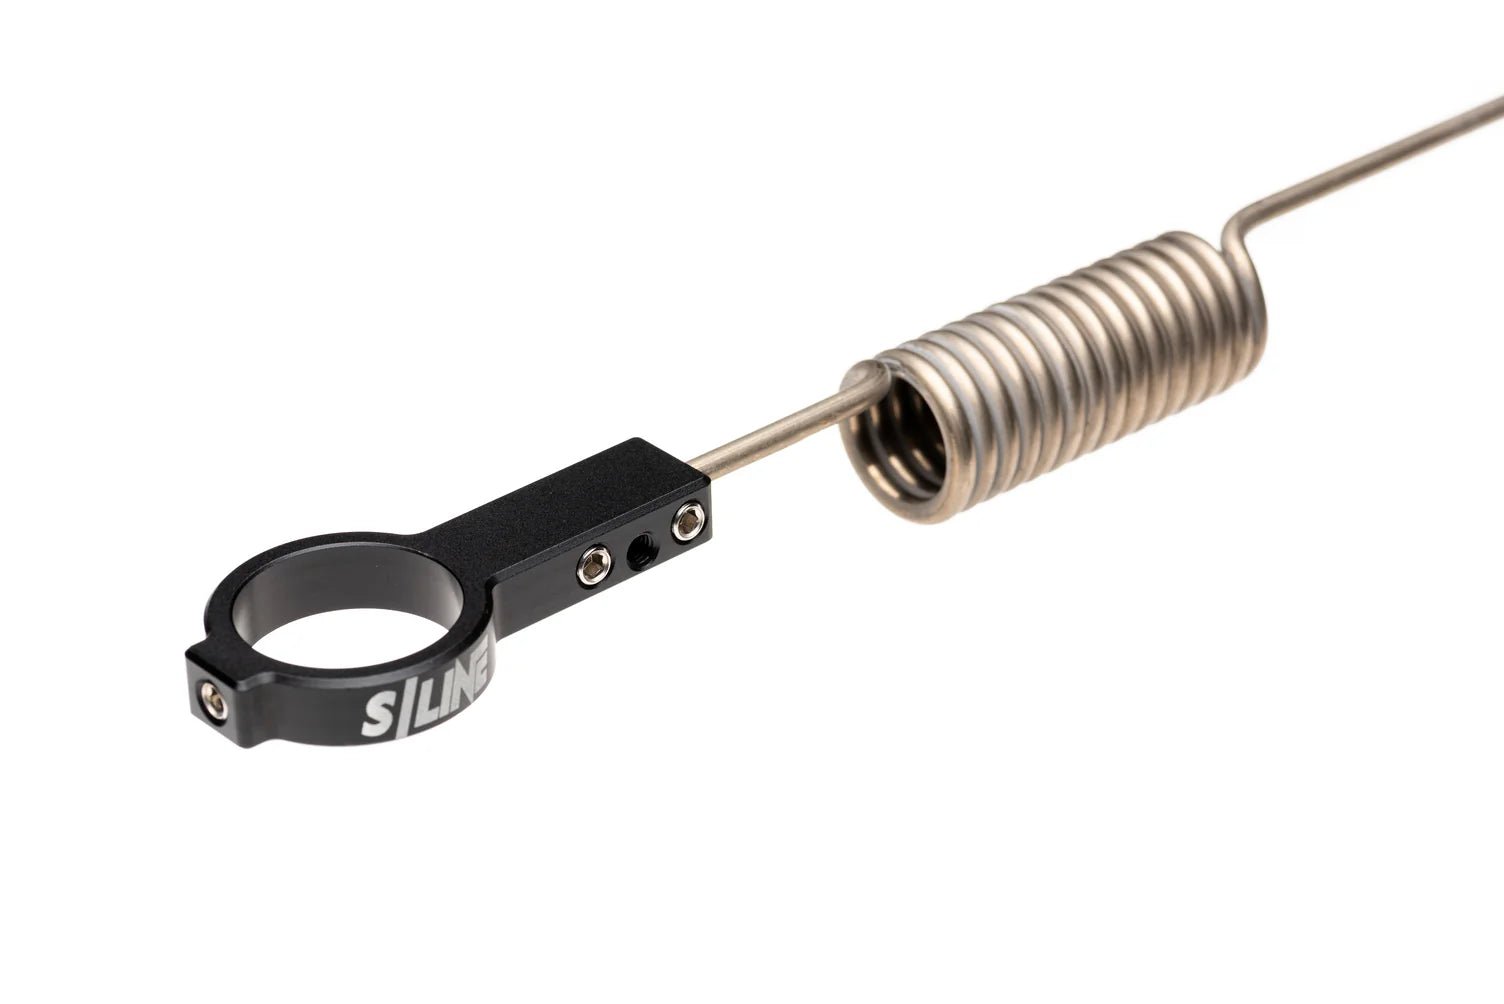
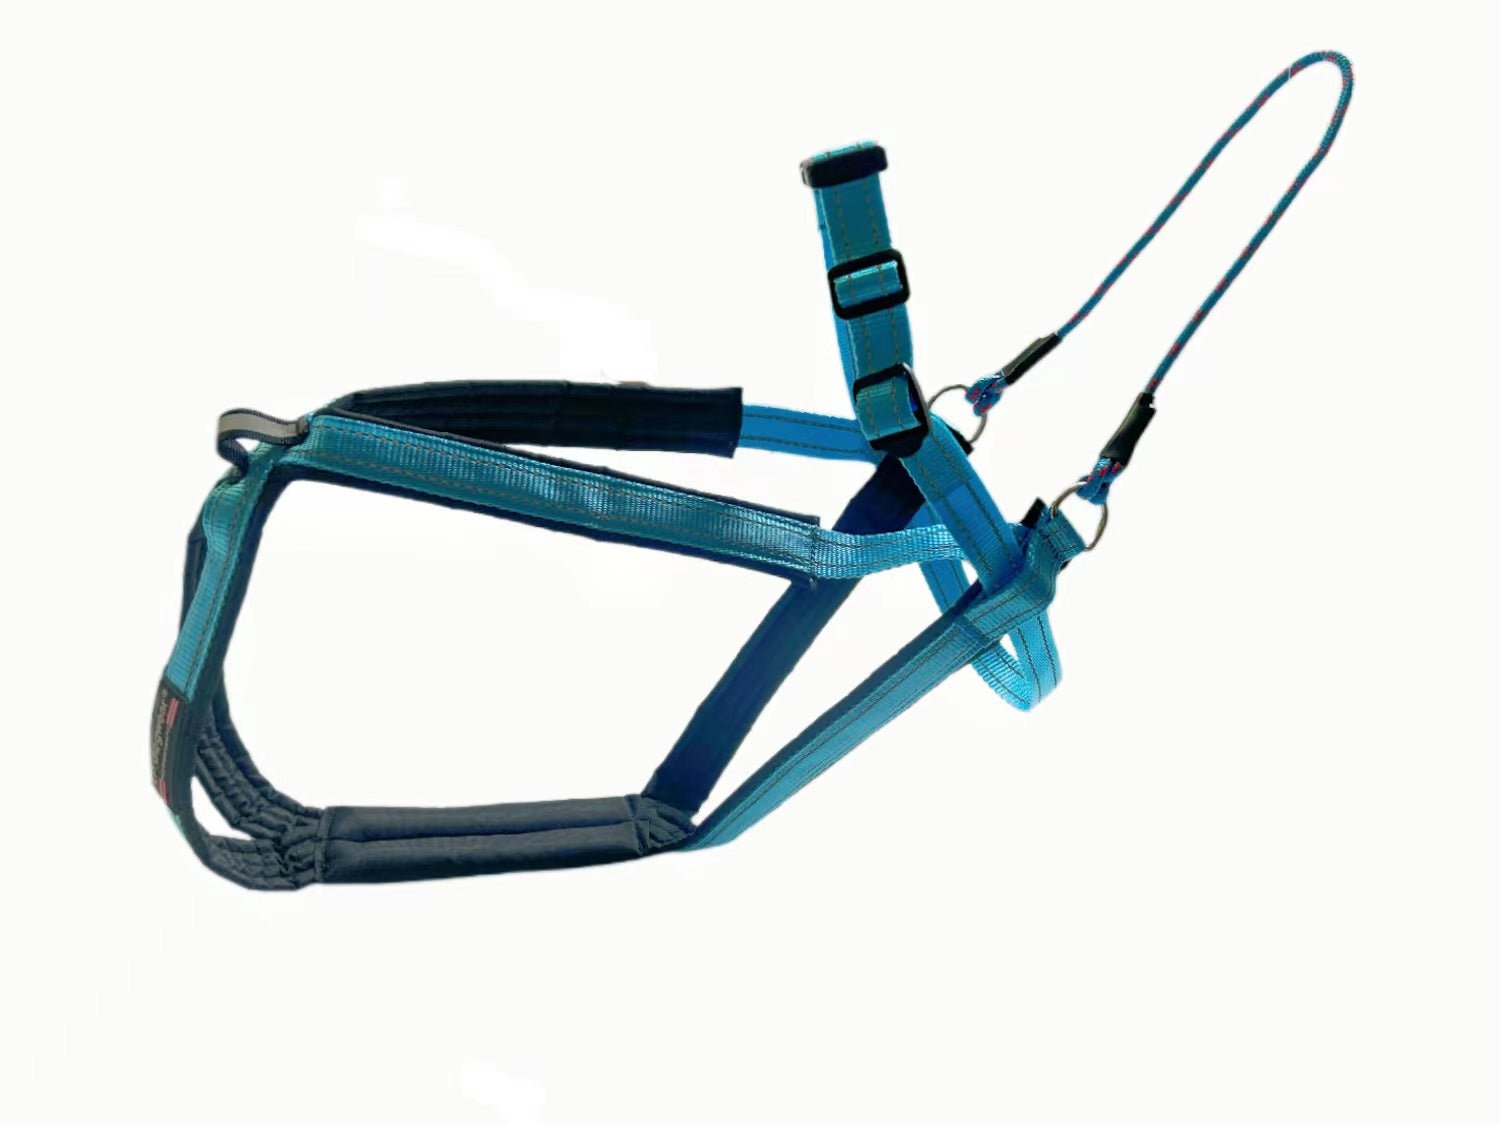
Pawtrekker Sidewalker Assembly Instructions

IMPORTANT!
If you are not confident of building the scooter, please get an experienced bicycle technician to do it, otherwise this could cause injury

YOU WILL NEED:
4mm ALLEN KEY; 2 x 13mm SPANNERS
  

We would advise you assemble your scooter/sidewalker on carpet to avoid scratching if it should fall over during this process! Another pair of hands will also be helpful! Take everything out of the box carefully. Assemble your scooter first and prop it up against a wall
 

1. Lay out all the parts in the box, which are shown in figure1 . (There may be some spare washers, which you do not need).

Figure 1


2. Remove the end cap from the rear wheel quick release mechanism as shown in Figure 2.
Do not lose the spring!

Figure 2


3. Remove nuts and bolts from the back end of the footplate of the scooter using the allen key. Keep all the bolts and nuts.


4. Attach the plate with 3 holes in it onto the end of the long metal bar using a long bolt with one large washer on the top part of the bar. Tighten the top of the bolt and the nut using 2 spanners.(Figure 3). This plate will attach to the footplate of the scooter.
 

Figure 3


5. Slide u-shaped bracket onto the bar as shown in Figure 4. Secure and tighten slightly using a long bolt and nut. Leave this loose for now so you can slide it onto the correct position.

Figure 4

6. Put spring back on quick release prong, narrow end pointing into the wheel.
Hook the bracket over the quick release prong. The plate at the other end will fit in position on the footplate.
Put cap back on quick release prong and tighten mechanism using lever on the other side of the wheel.

Figure 5

Using the two footplate bolts and nuts, attach the plate to the footplate on the scooter, tightening with the allen key.

Figure 6


7. Take the upright bar and slot it over the main bar.
Using a long bolt and nut, tighten up with both spanners until the upright doesn’t wobble about. You will need to apply quite a lot of pressure, which will close the fixings up tighter. Then undo it, and insert one large washer at the back and re-do the bolt and nut tightening.

Figure 7

8. Insert a small bolt through the top of the upright bar using a small washer at the back, and the nut.

Figure 8

Figure 9 shows how it all should look


9. Slide one shock absorber unit onto the side of the u-bar section. Tighten slightly to stop it sliding.

Figure 10


10. Slide the u-bar section into the upright, and slide it right down to the bottom.


11. Slide the other half of the u-bar into the part already attached and fix with a small bolt, small washer and nut.
 

Figure 11

12. Tighten up the bolt on the top of the upright, so the u-bar doesn’t swing.

Figure 12

13. Fix other shock to the other side of the u-bar.

FOR 2 DOG SIDEWALKER SYSTEMS:
Make up the second u-bar as for the first. Slide the extender bar into the back of the main bar and tighten using the knob.

For single or double systems: Insert end caps into end of u-bar tubes and also into end of extender bar for the double system.

If you have any problems, please email us and we can assist you through the process. It is always advisable to have your scooter assembled or checked by a bicycle mechanic if you are unsure. Happy riding!